Attempt to repair a cracked PCB
With a title like that, you can figure out that it didn’t went extremely well. 🙁
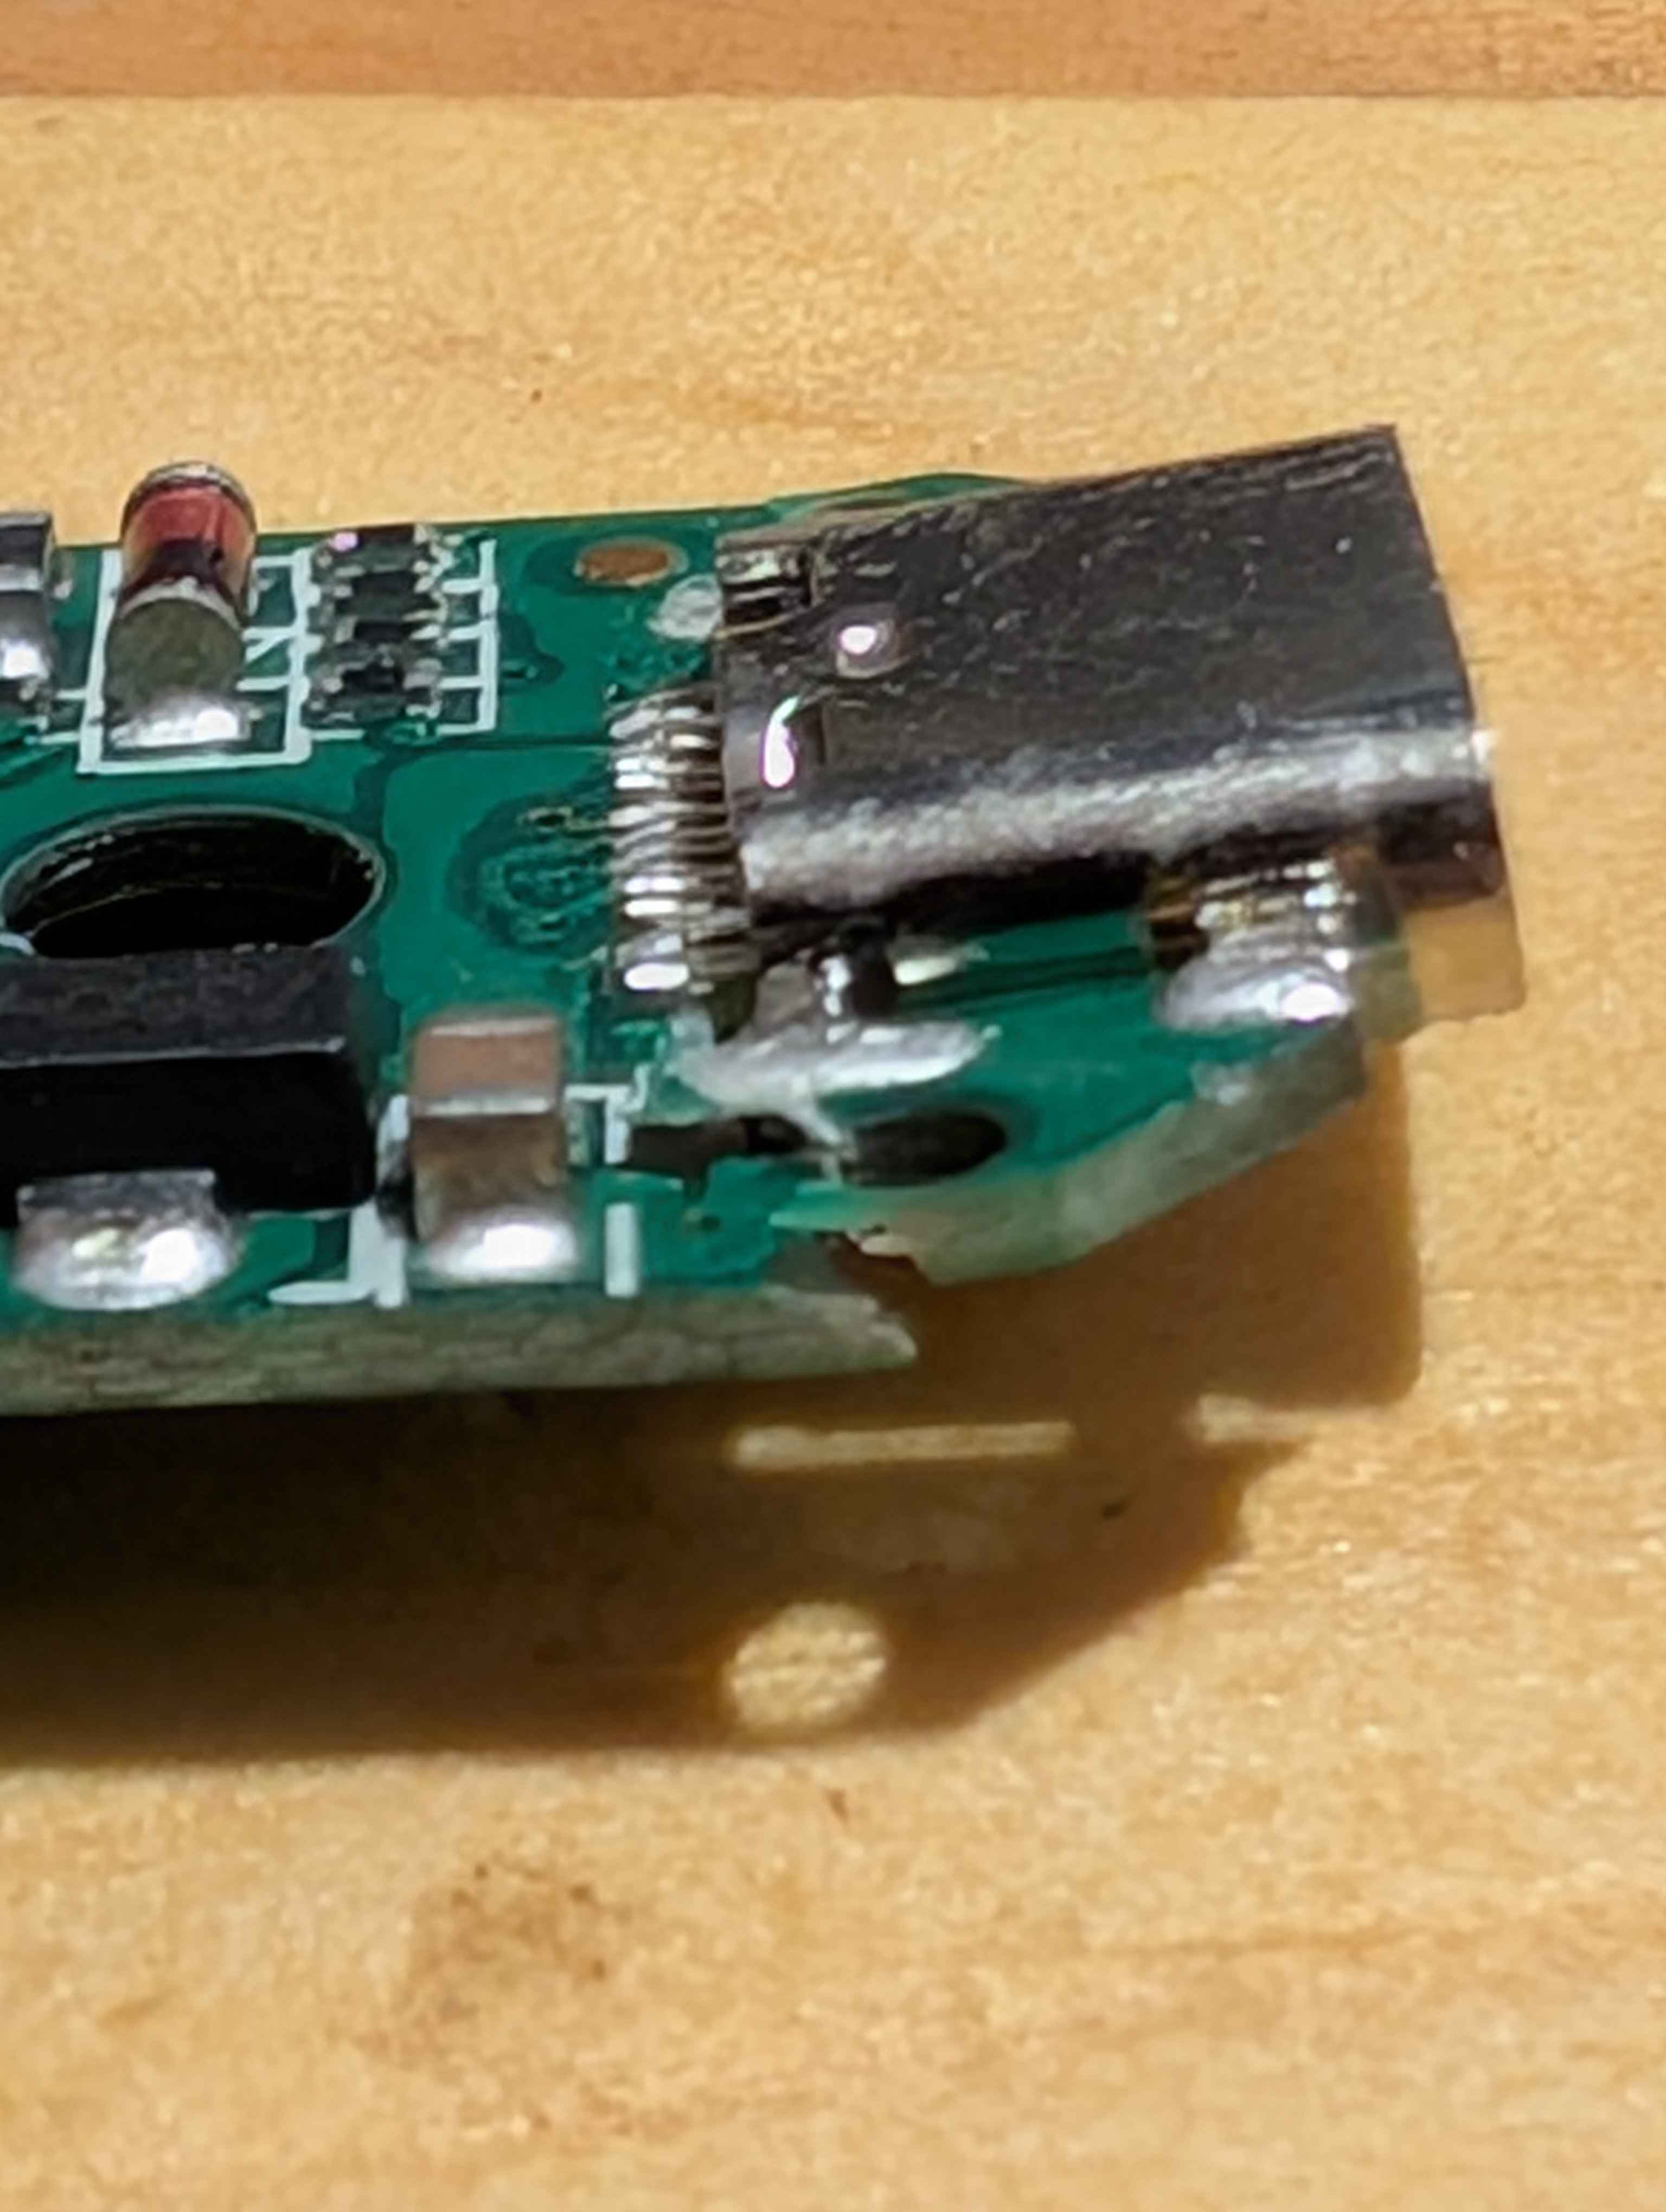
Nonetheless, let’s start from the start shall we? I was presented with a wireless charger circuit that had a crack in the PCB near the USB-C connector. Normally these kind of gizmos are so cheap, they’re just going to get dumped and forgot about, but I saw an opportunity! an opportunity to practice some techniques that I’ve seen countless times online in tutorials, training and such : PCB trace repairs!
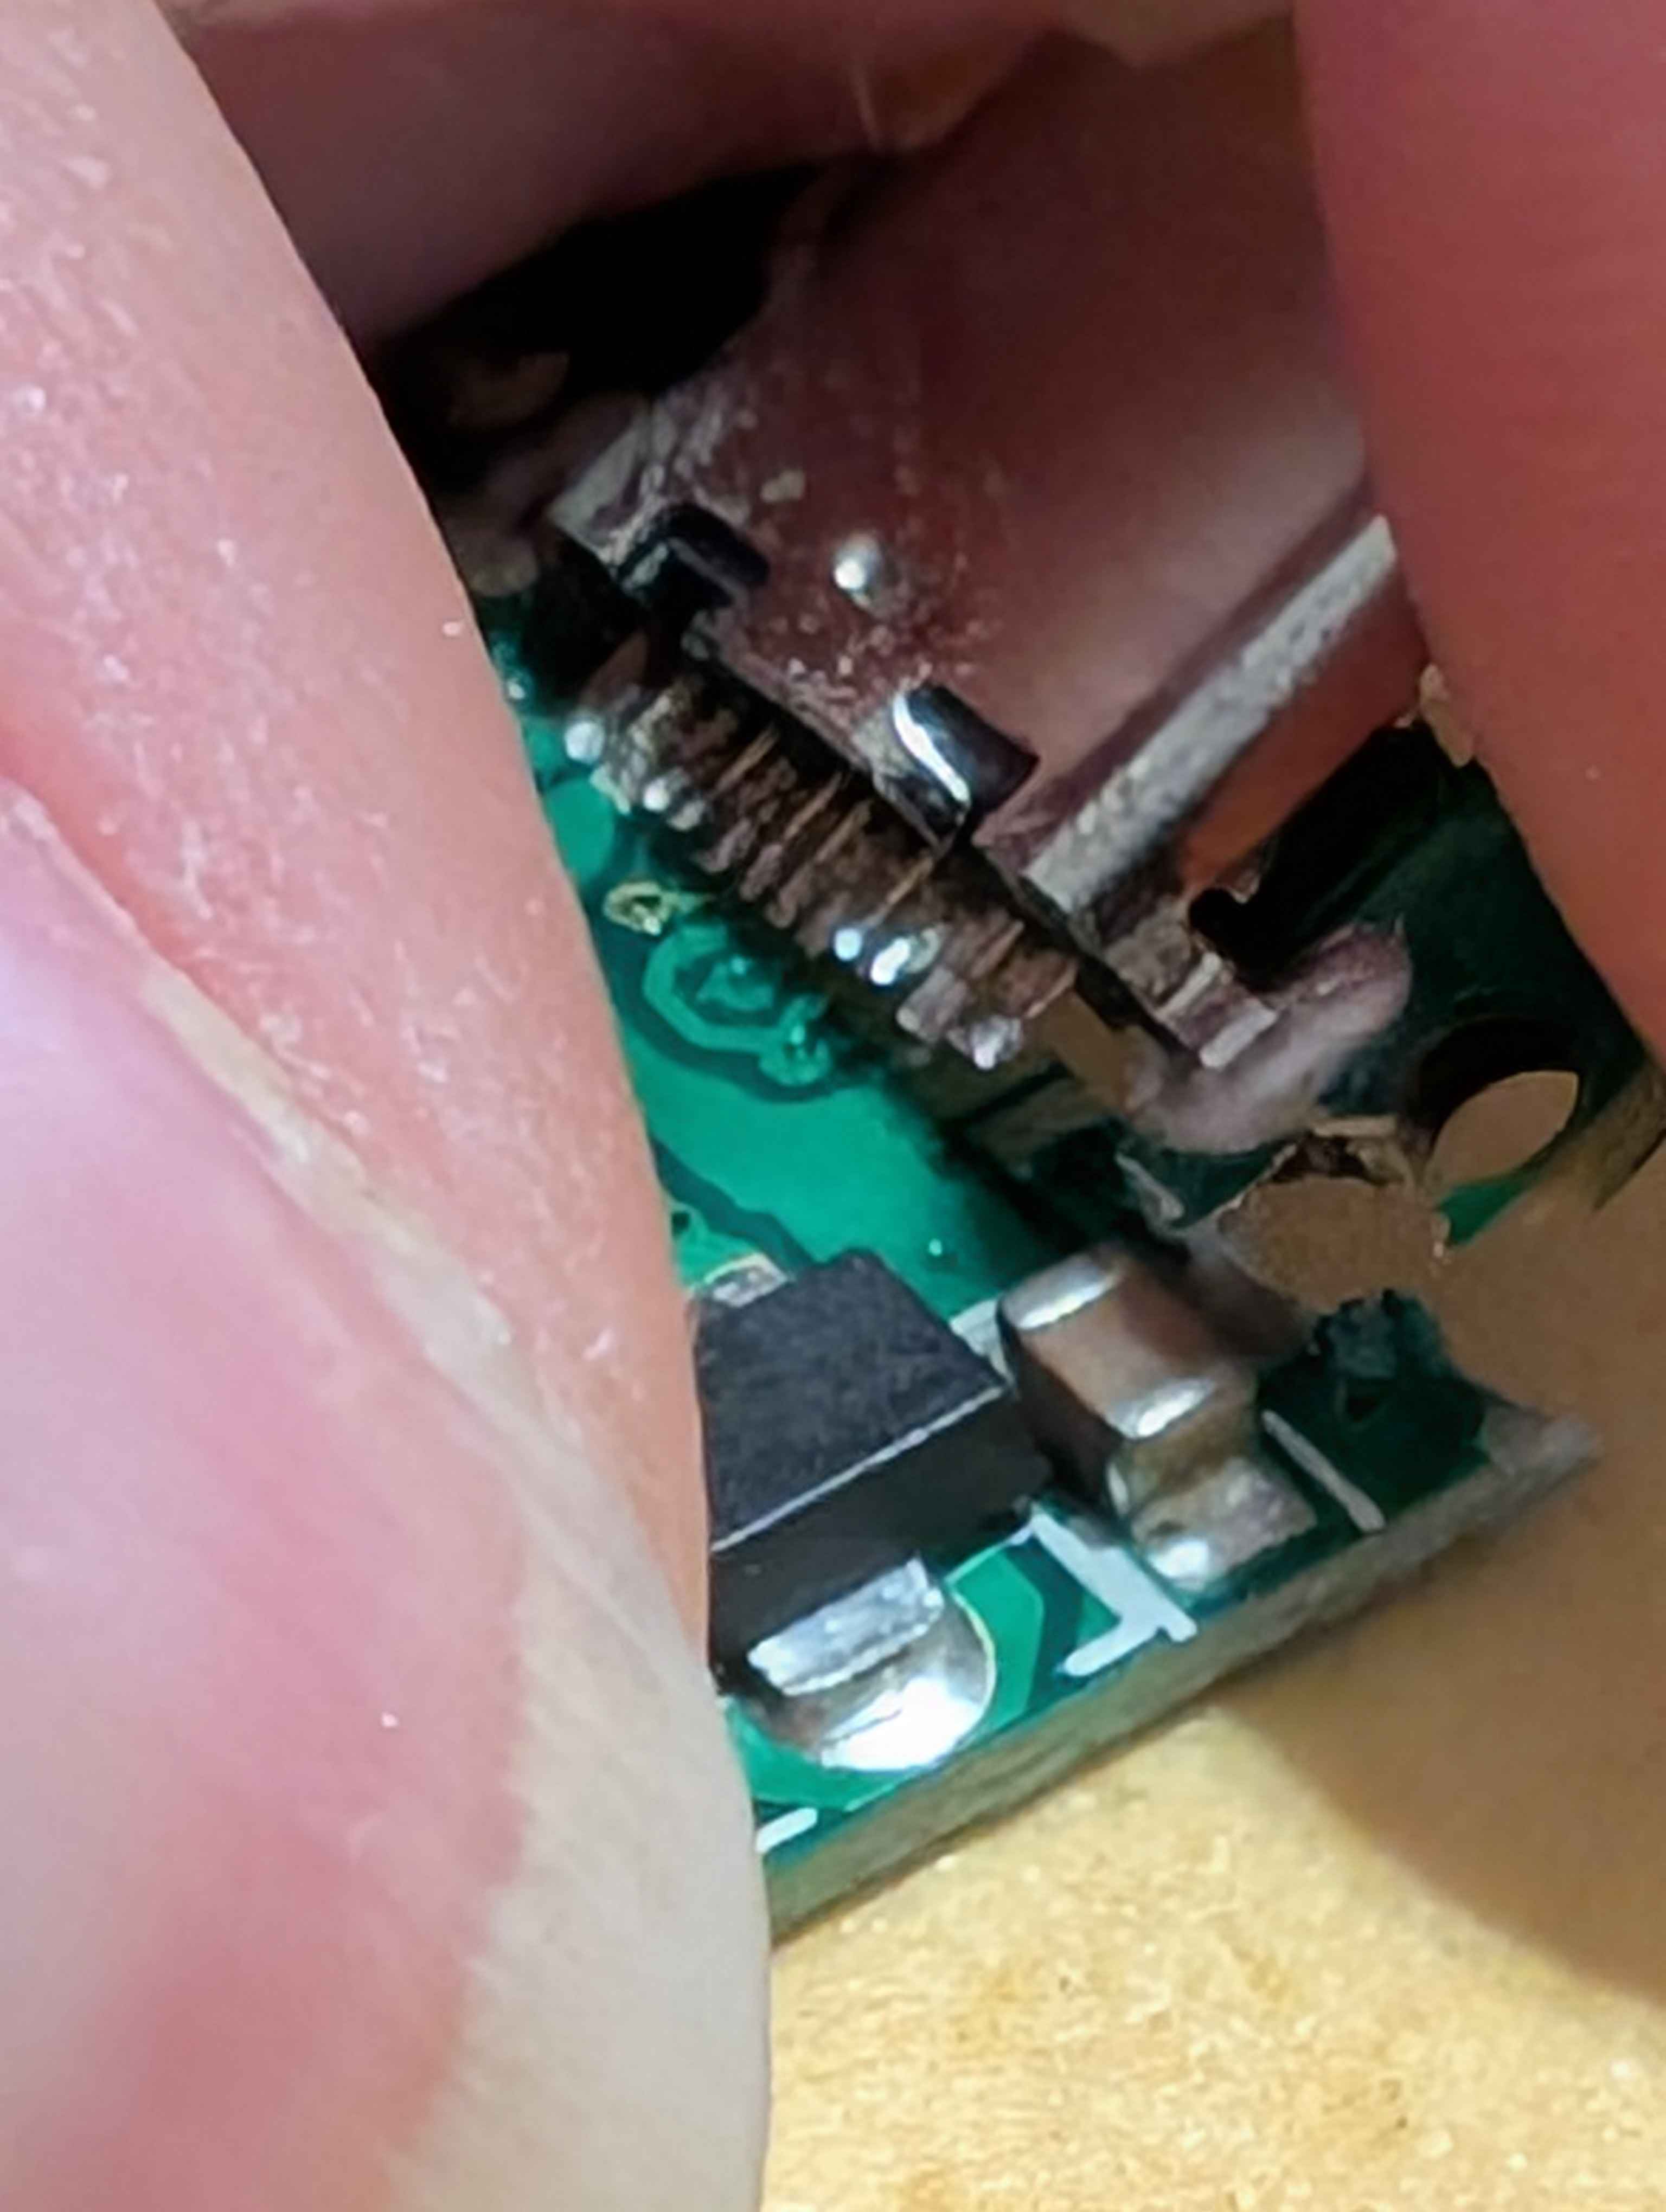
The idea sounded REALLY good in my head, finally being able to test that technique for myself (seriously, when do we have a cracked PCB laying around for fun?), I decided to see what I was working with. Lucky for you, there’s pictures too!
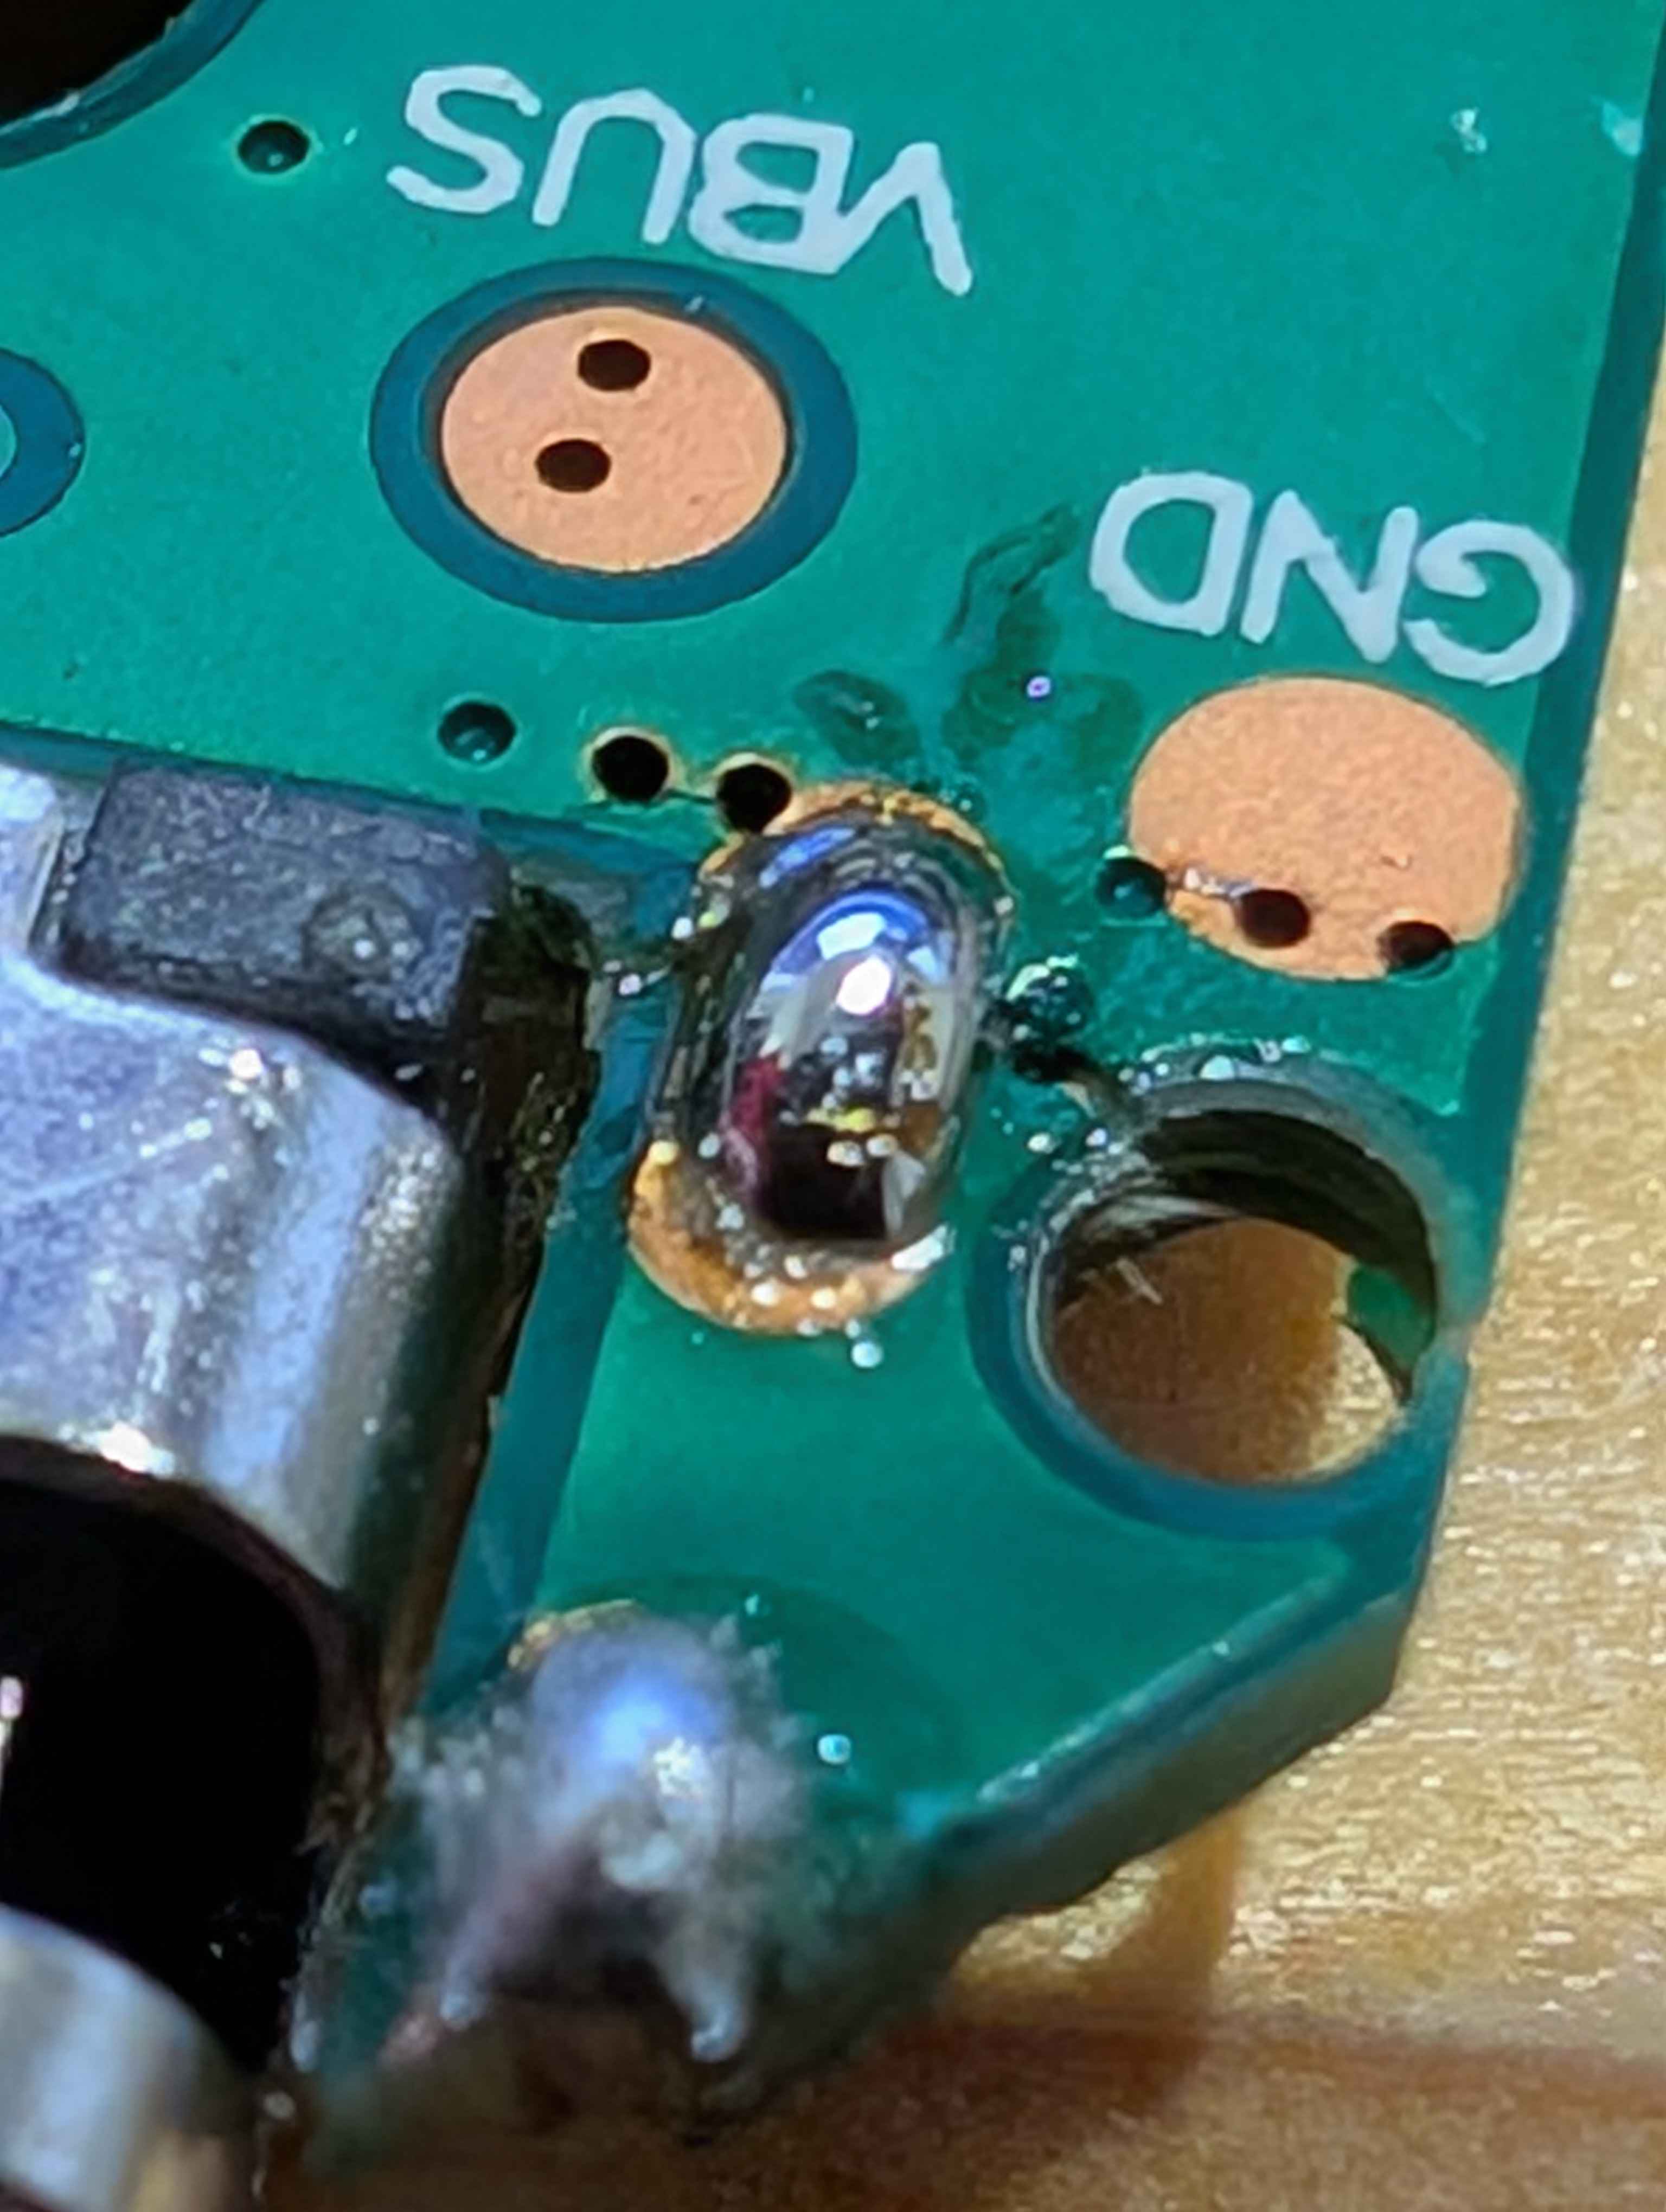
I started by solidifying the back part, where there was no connections. This prove to be a blessing since the board was moving a lot before. At least, with that done, I’d be able to have a stable work surface.
Then came the fun part of scratching the traces. I’ve soon realized that this is a nerve wrecking operation. Remove too little, not gonna work. Remove too much, RIP. Thankfully, I managed to expose enough to have a good surface to work with. I also took the time to plan which pin had to go where on the board (and even made myself a little diagram)
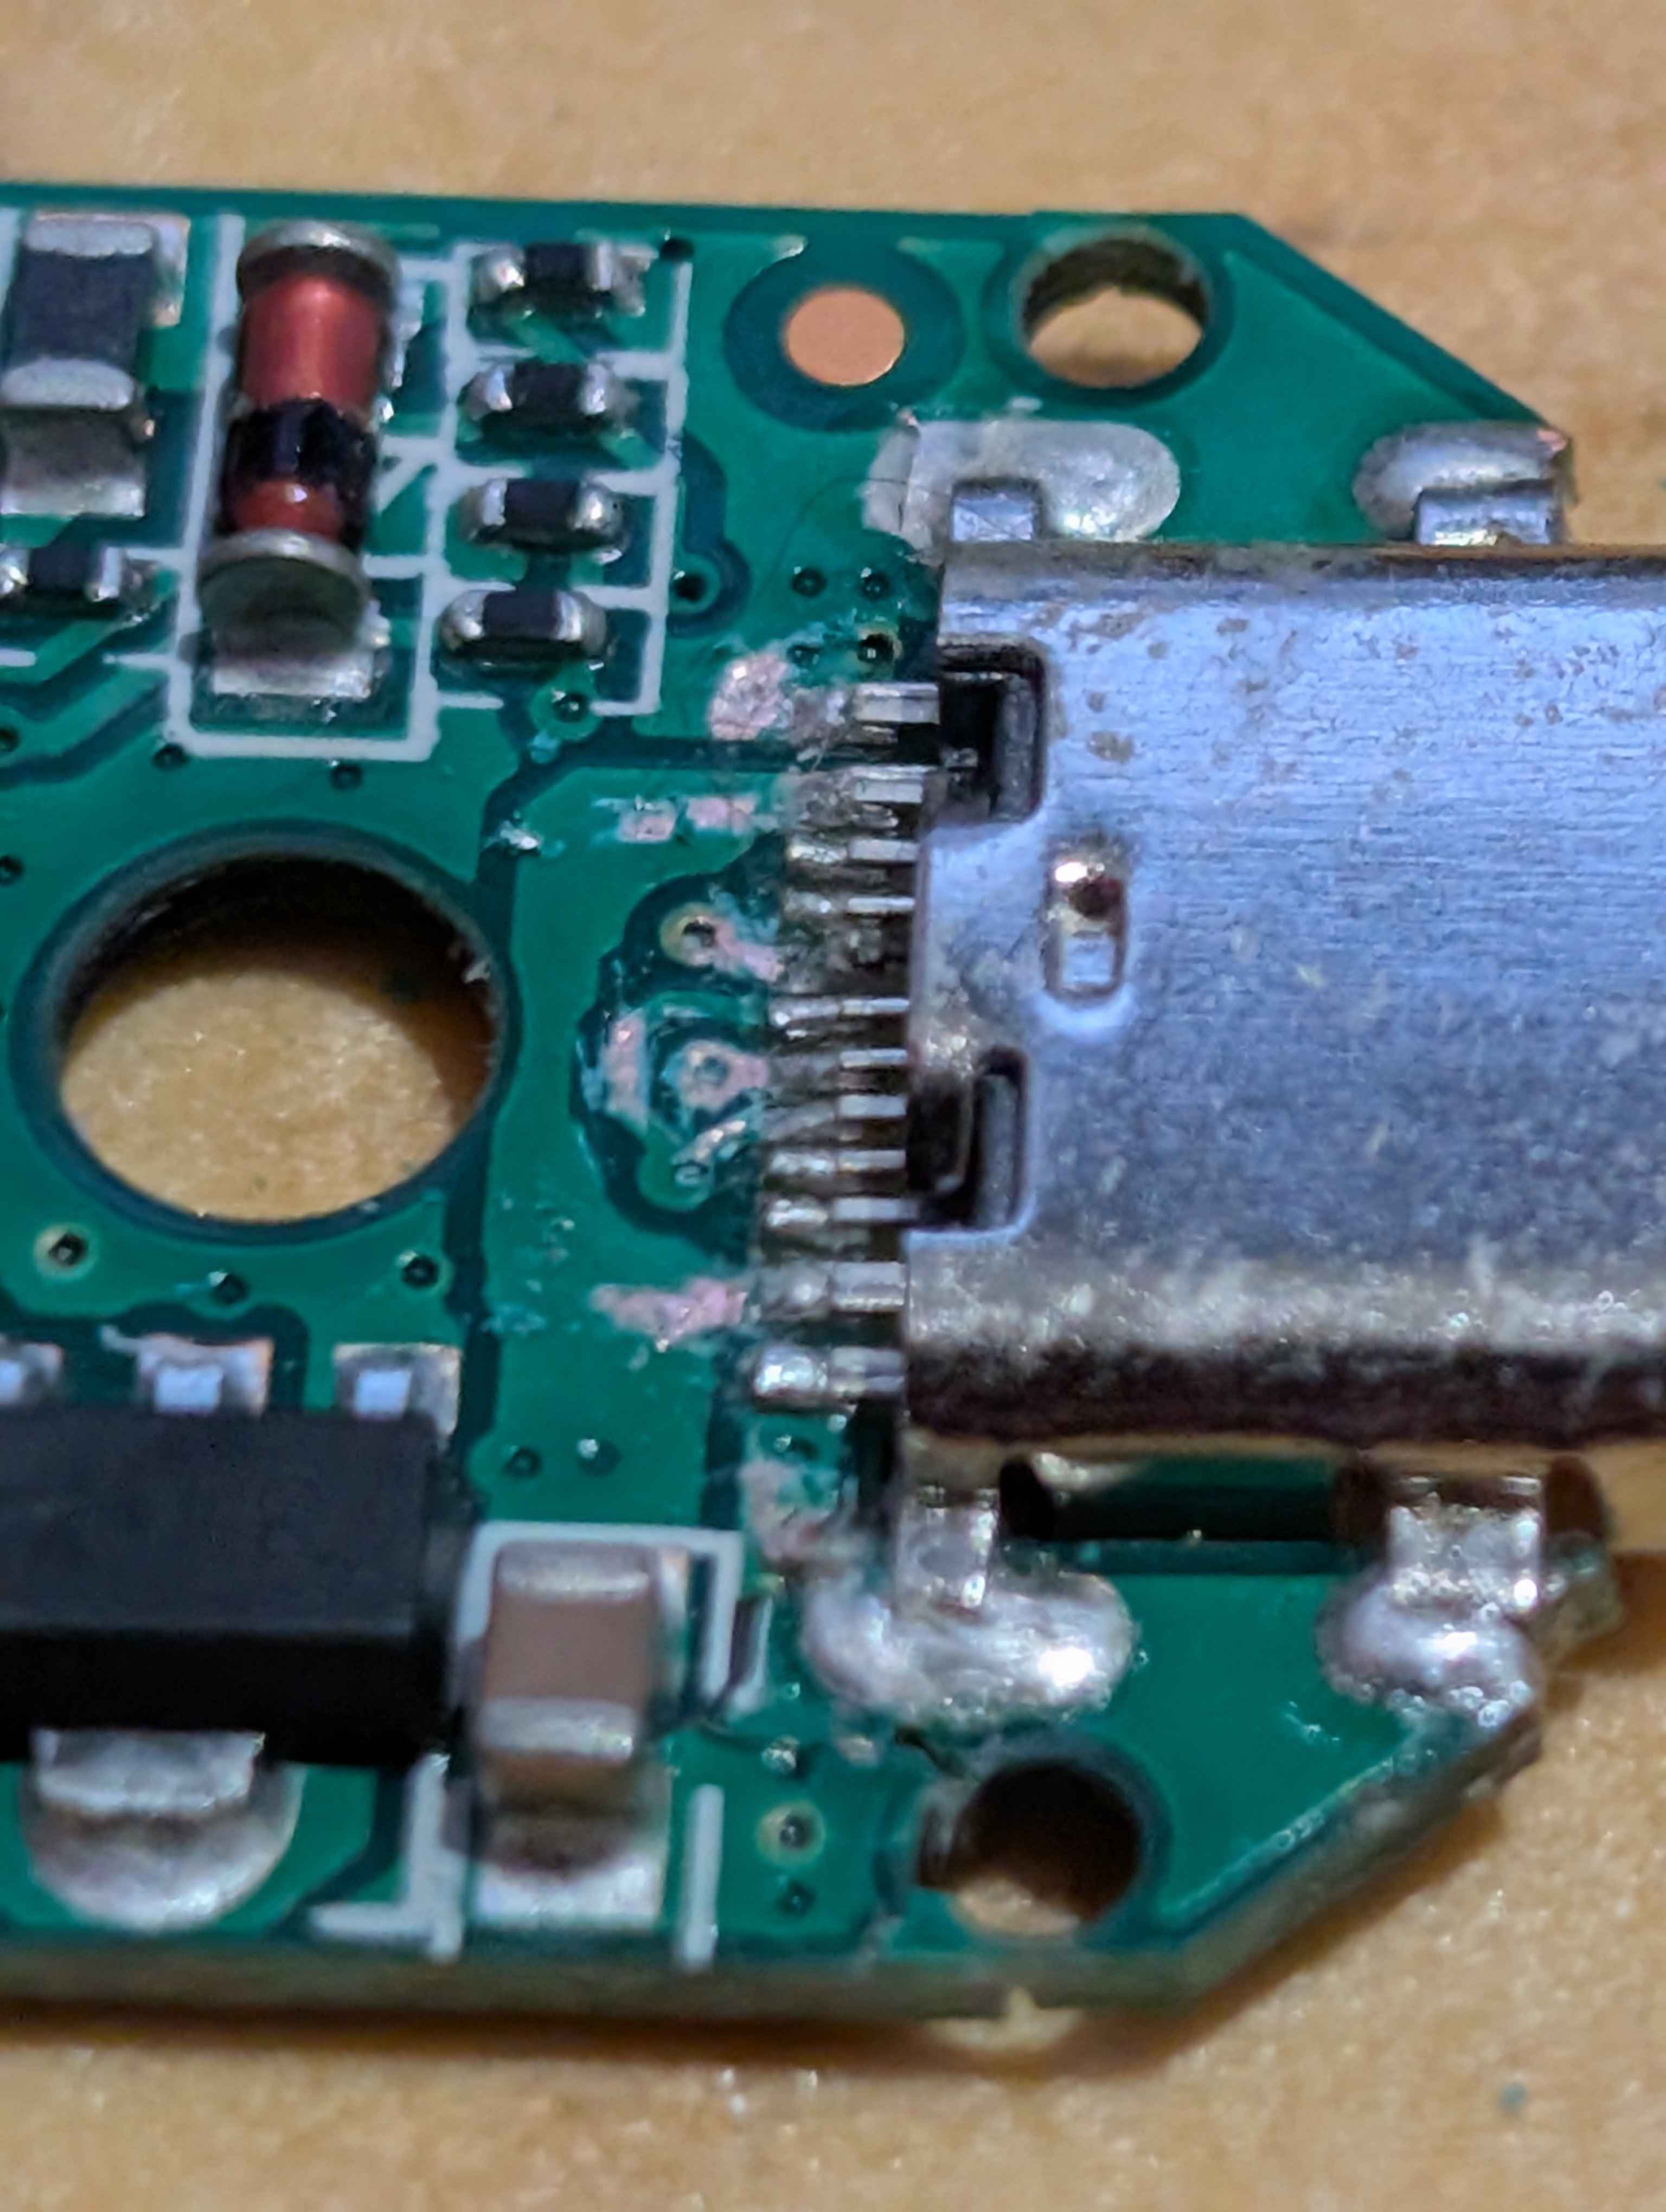
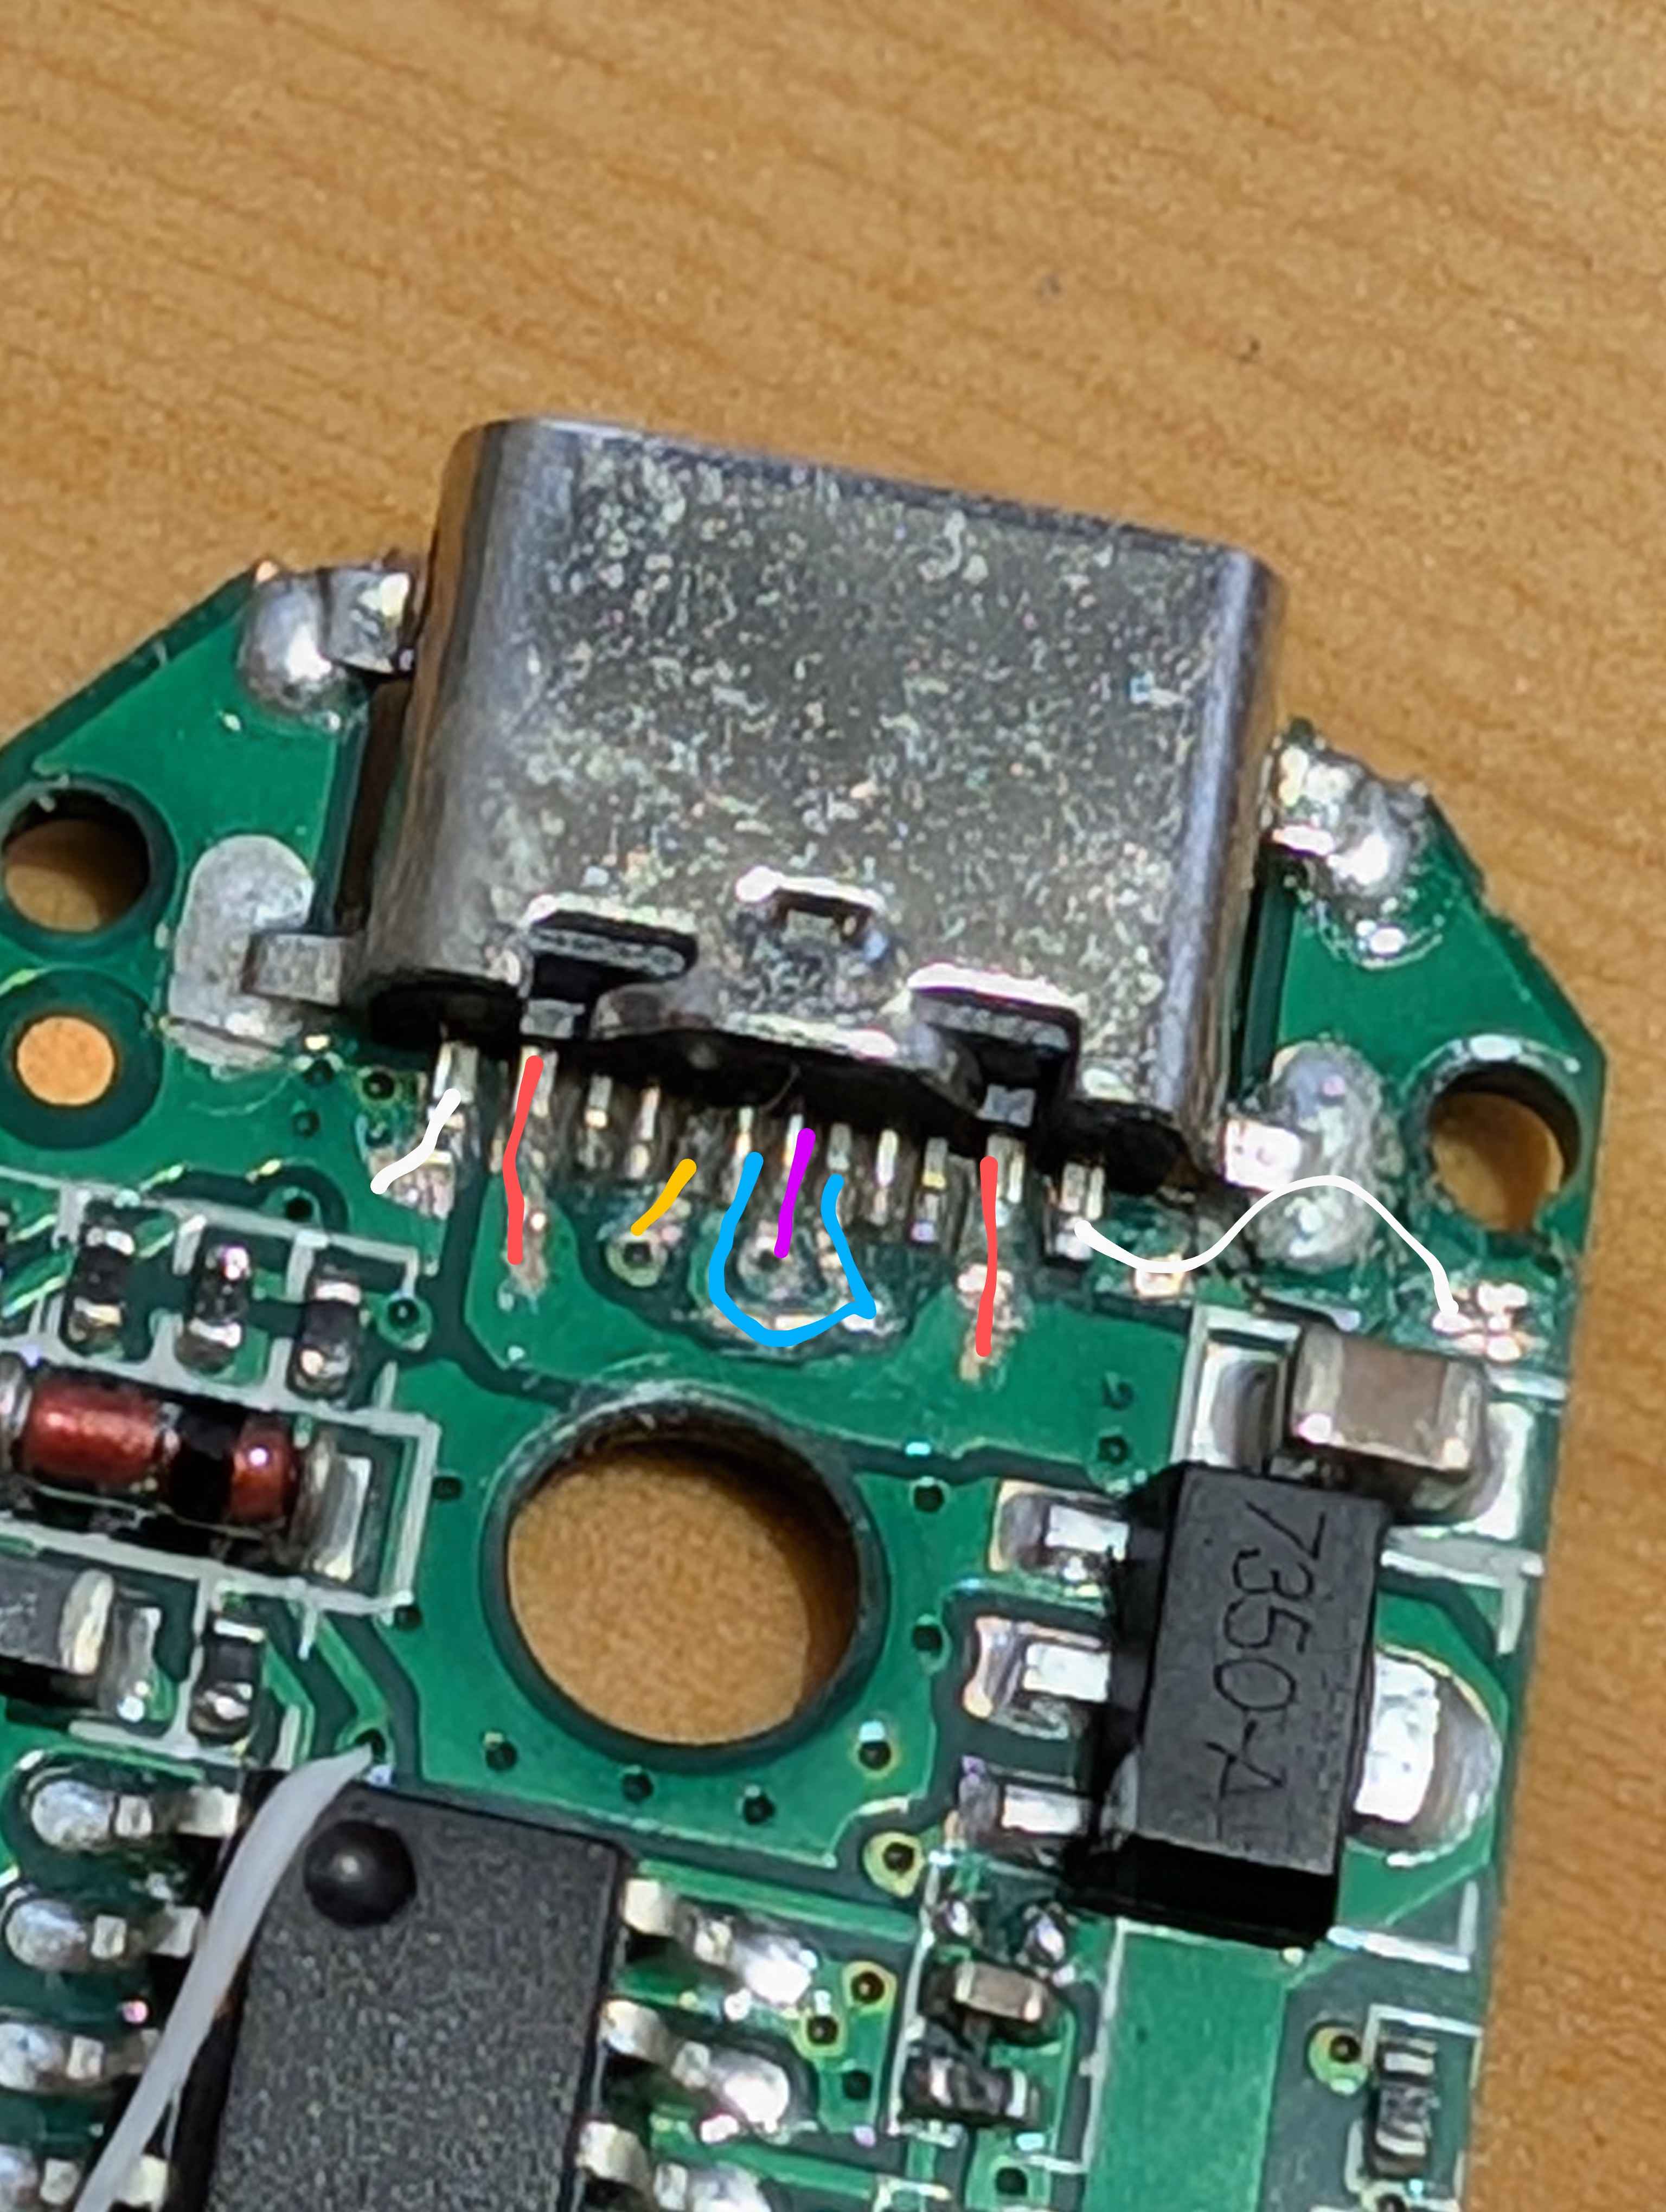
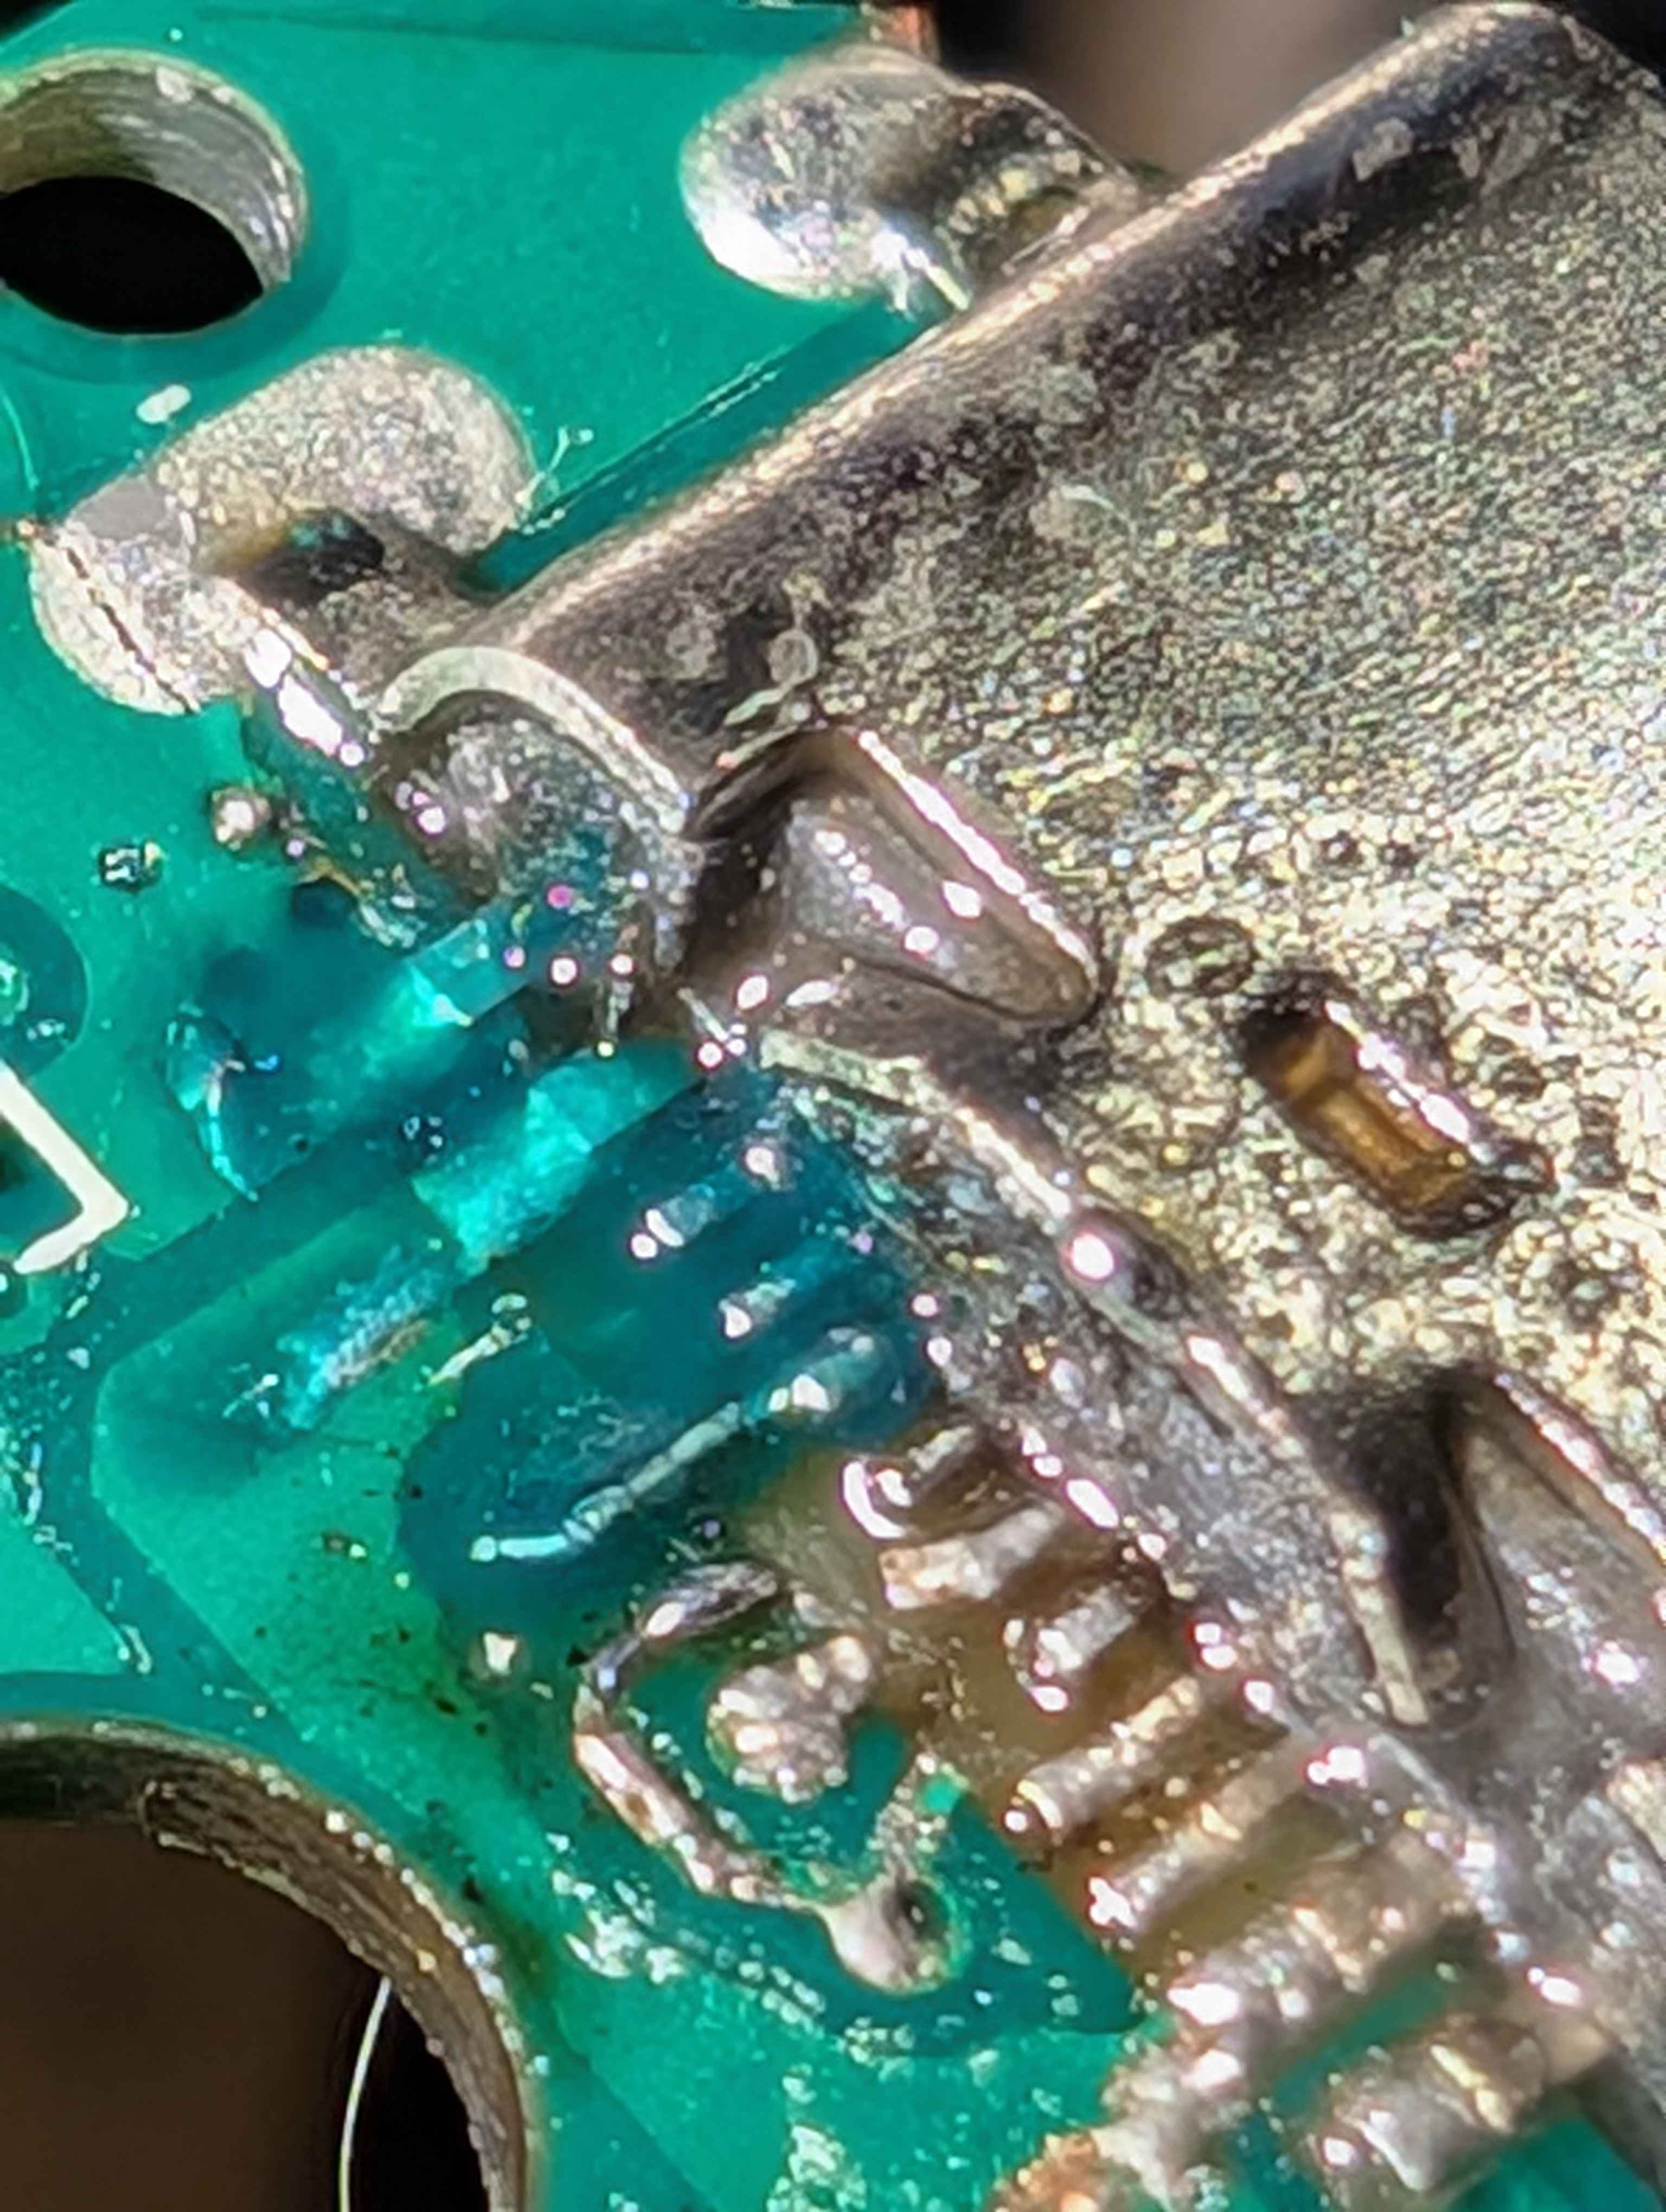
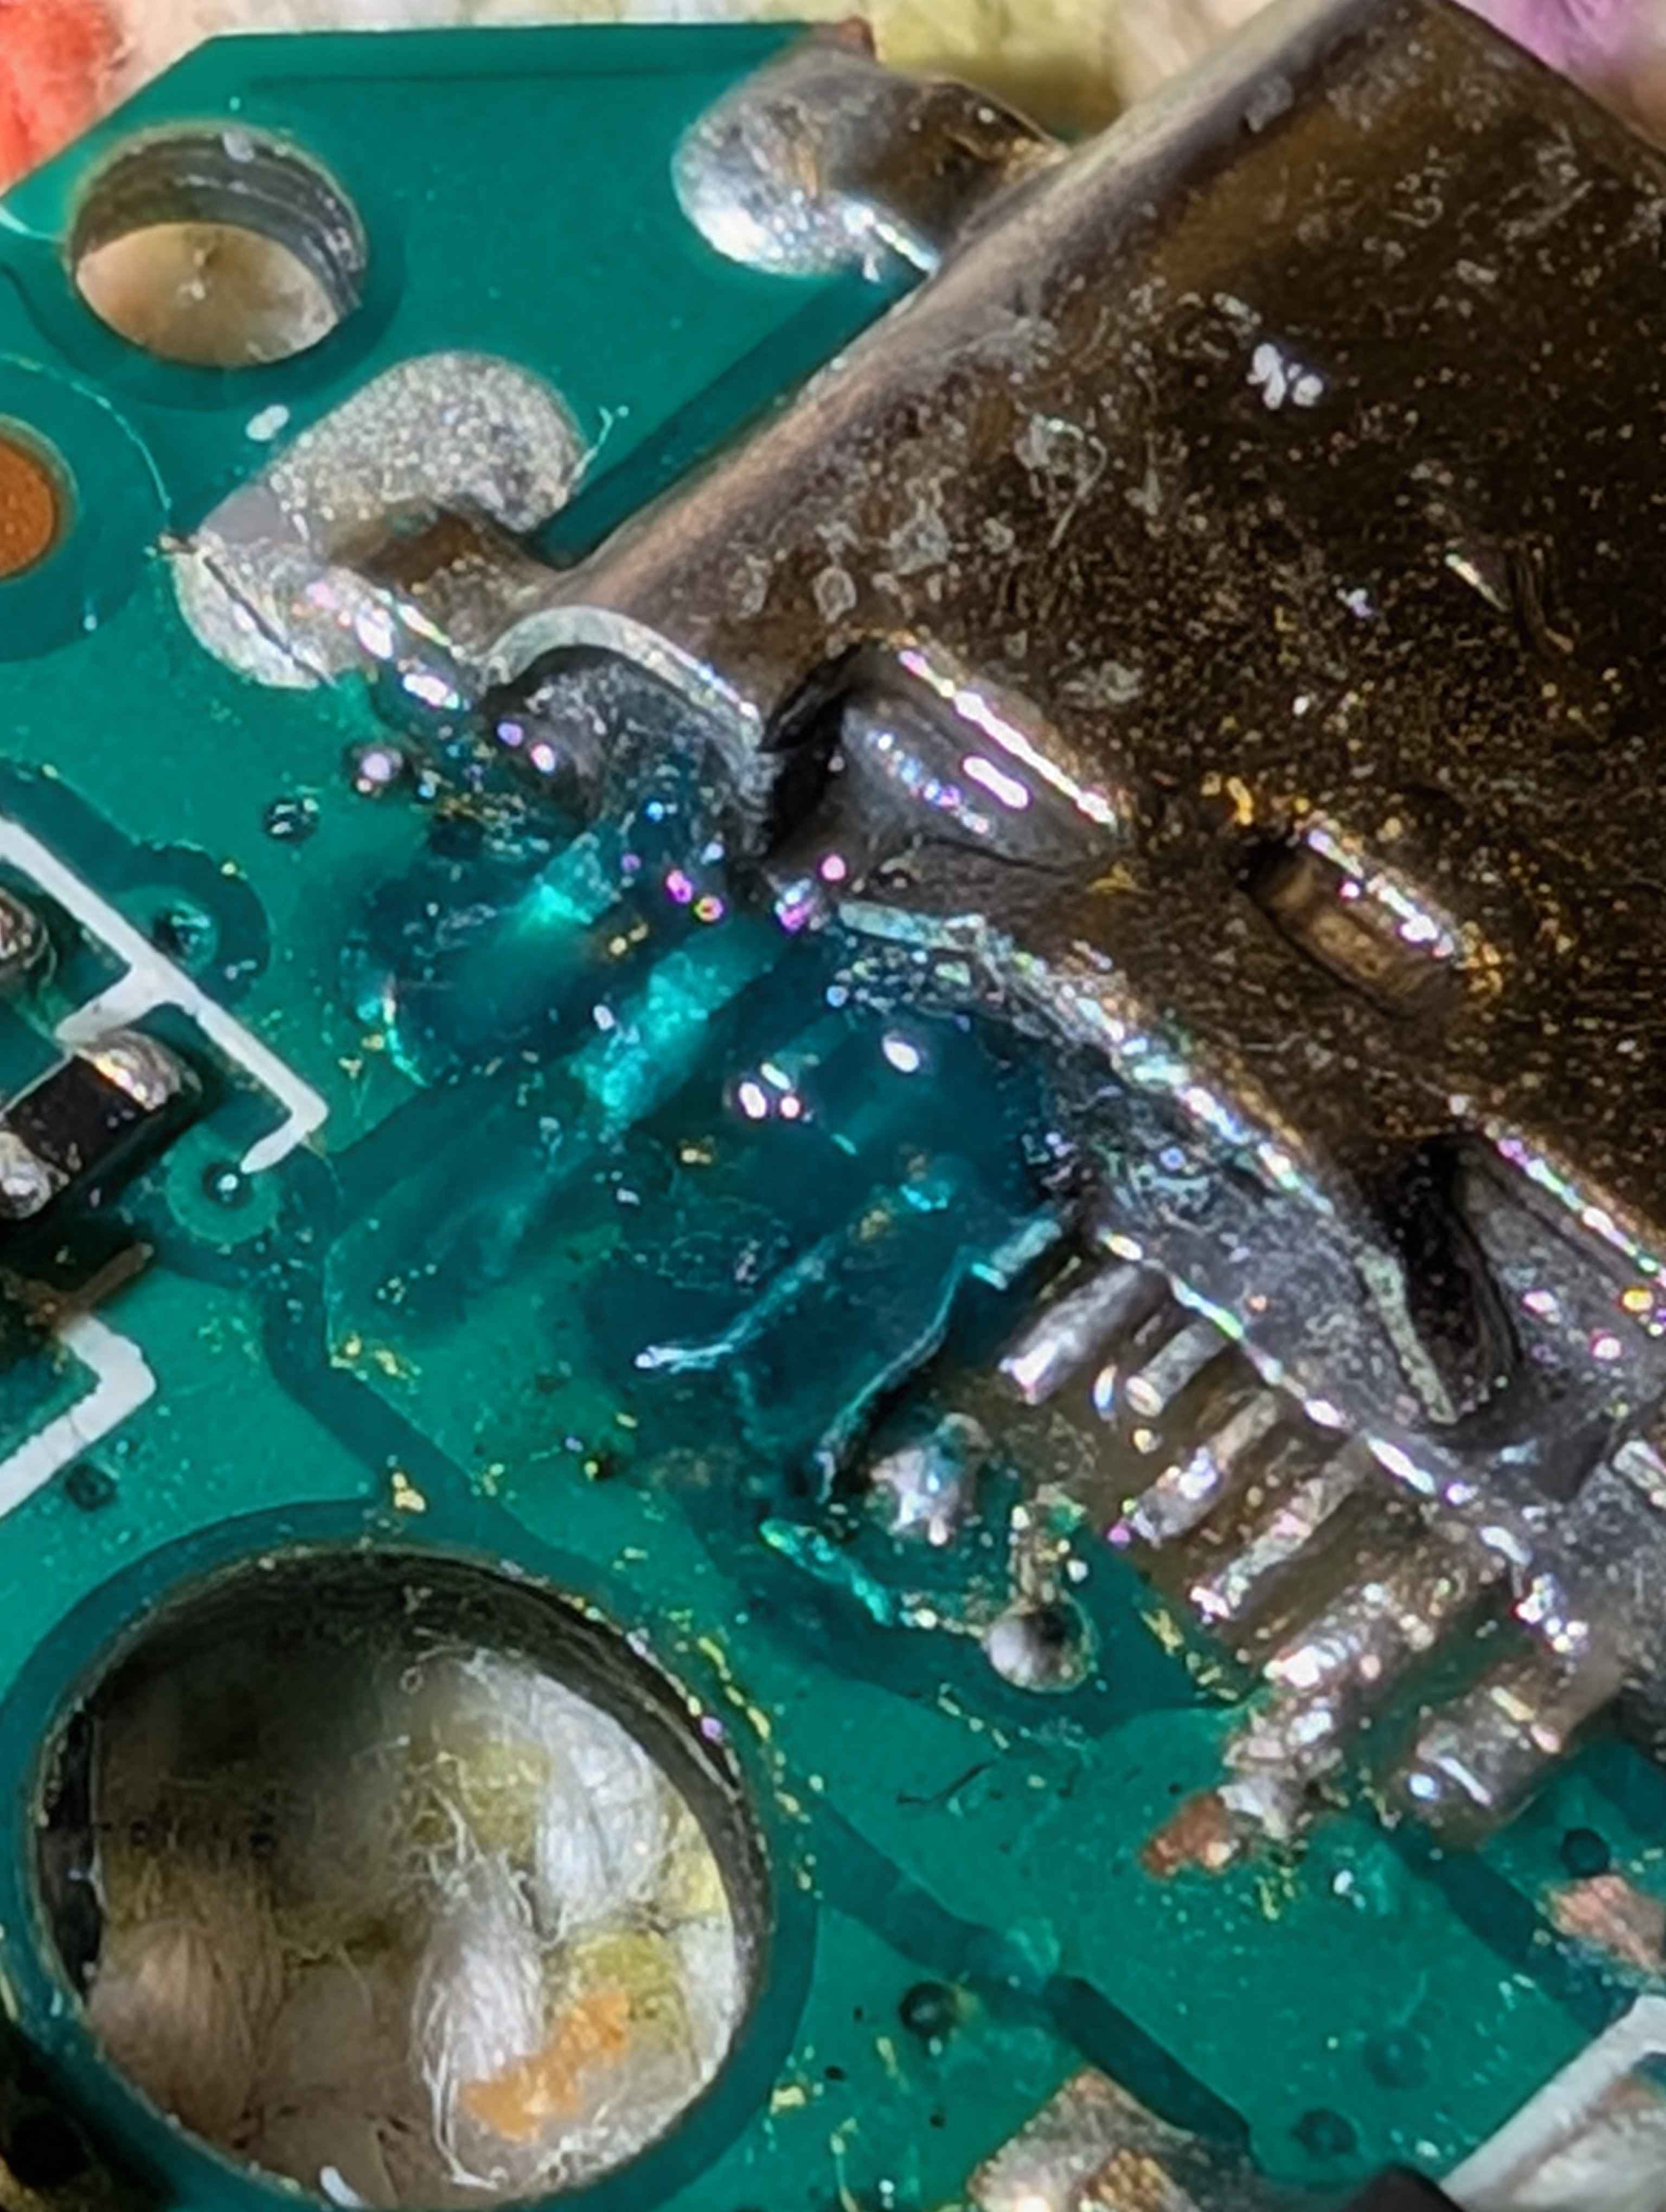
Once I had my courage in both my hands (ok, more like my soldering iron and a piece of ‘hair-thick copper wire’), I started connecting traces to the USB connector. Saying it was difficult would be an understatement. The only one that worked well was the first pin on the left since it is bigger than the rest. The ones after were a trial of patience and luck, to get the wire to stick to the connector pin, and then to not heat too much and disconnect while doing the trace connection. In between each wire, I added UV curable resin, which acted as a glue and protected against accidental desoldering of the pins already done.
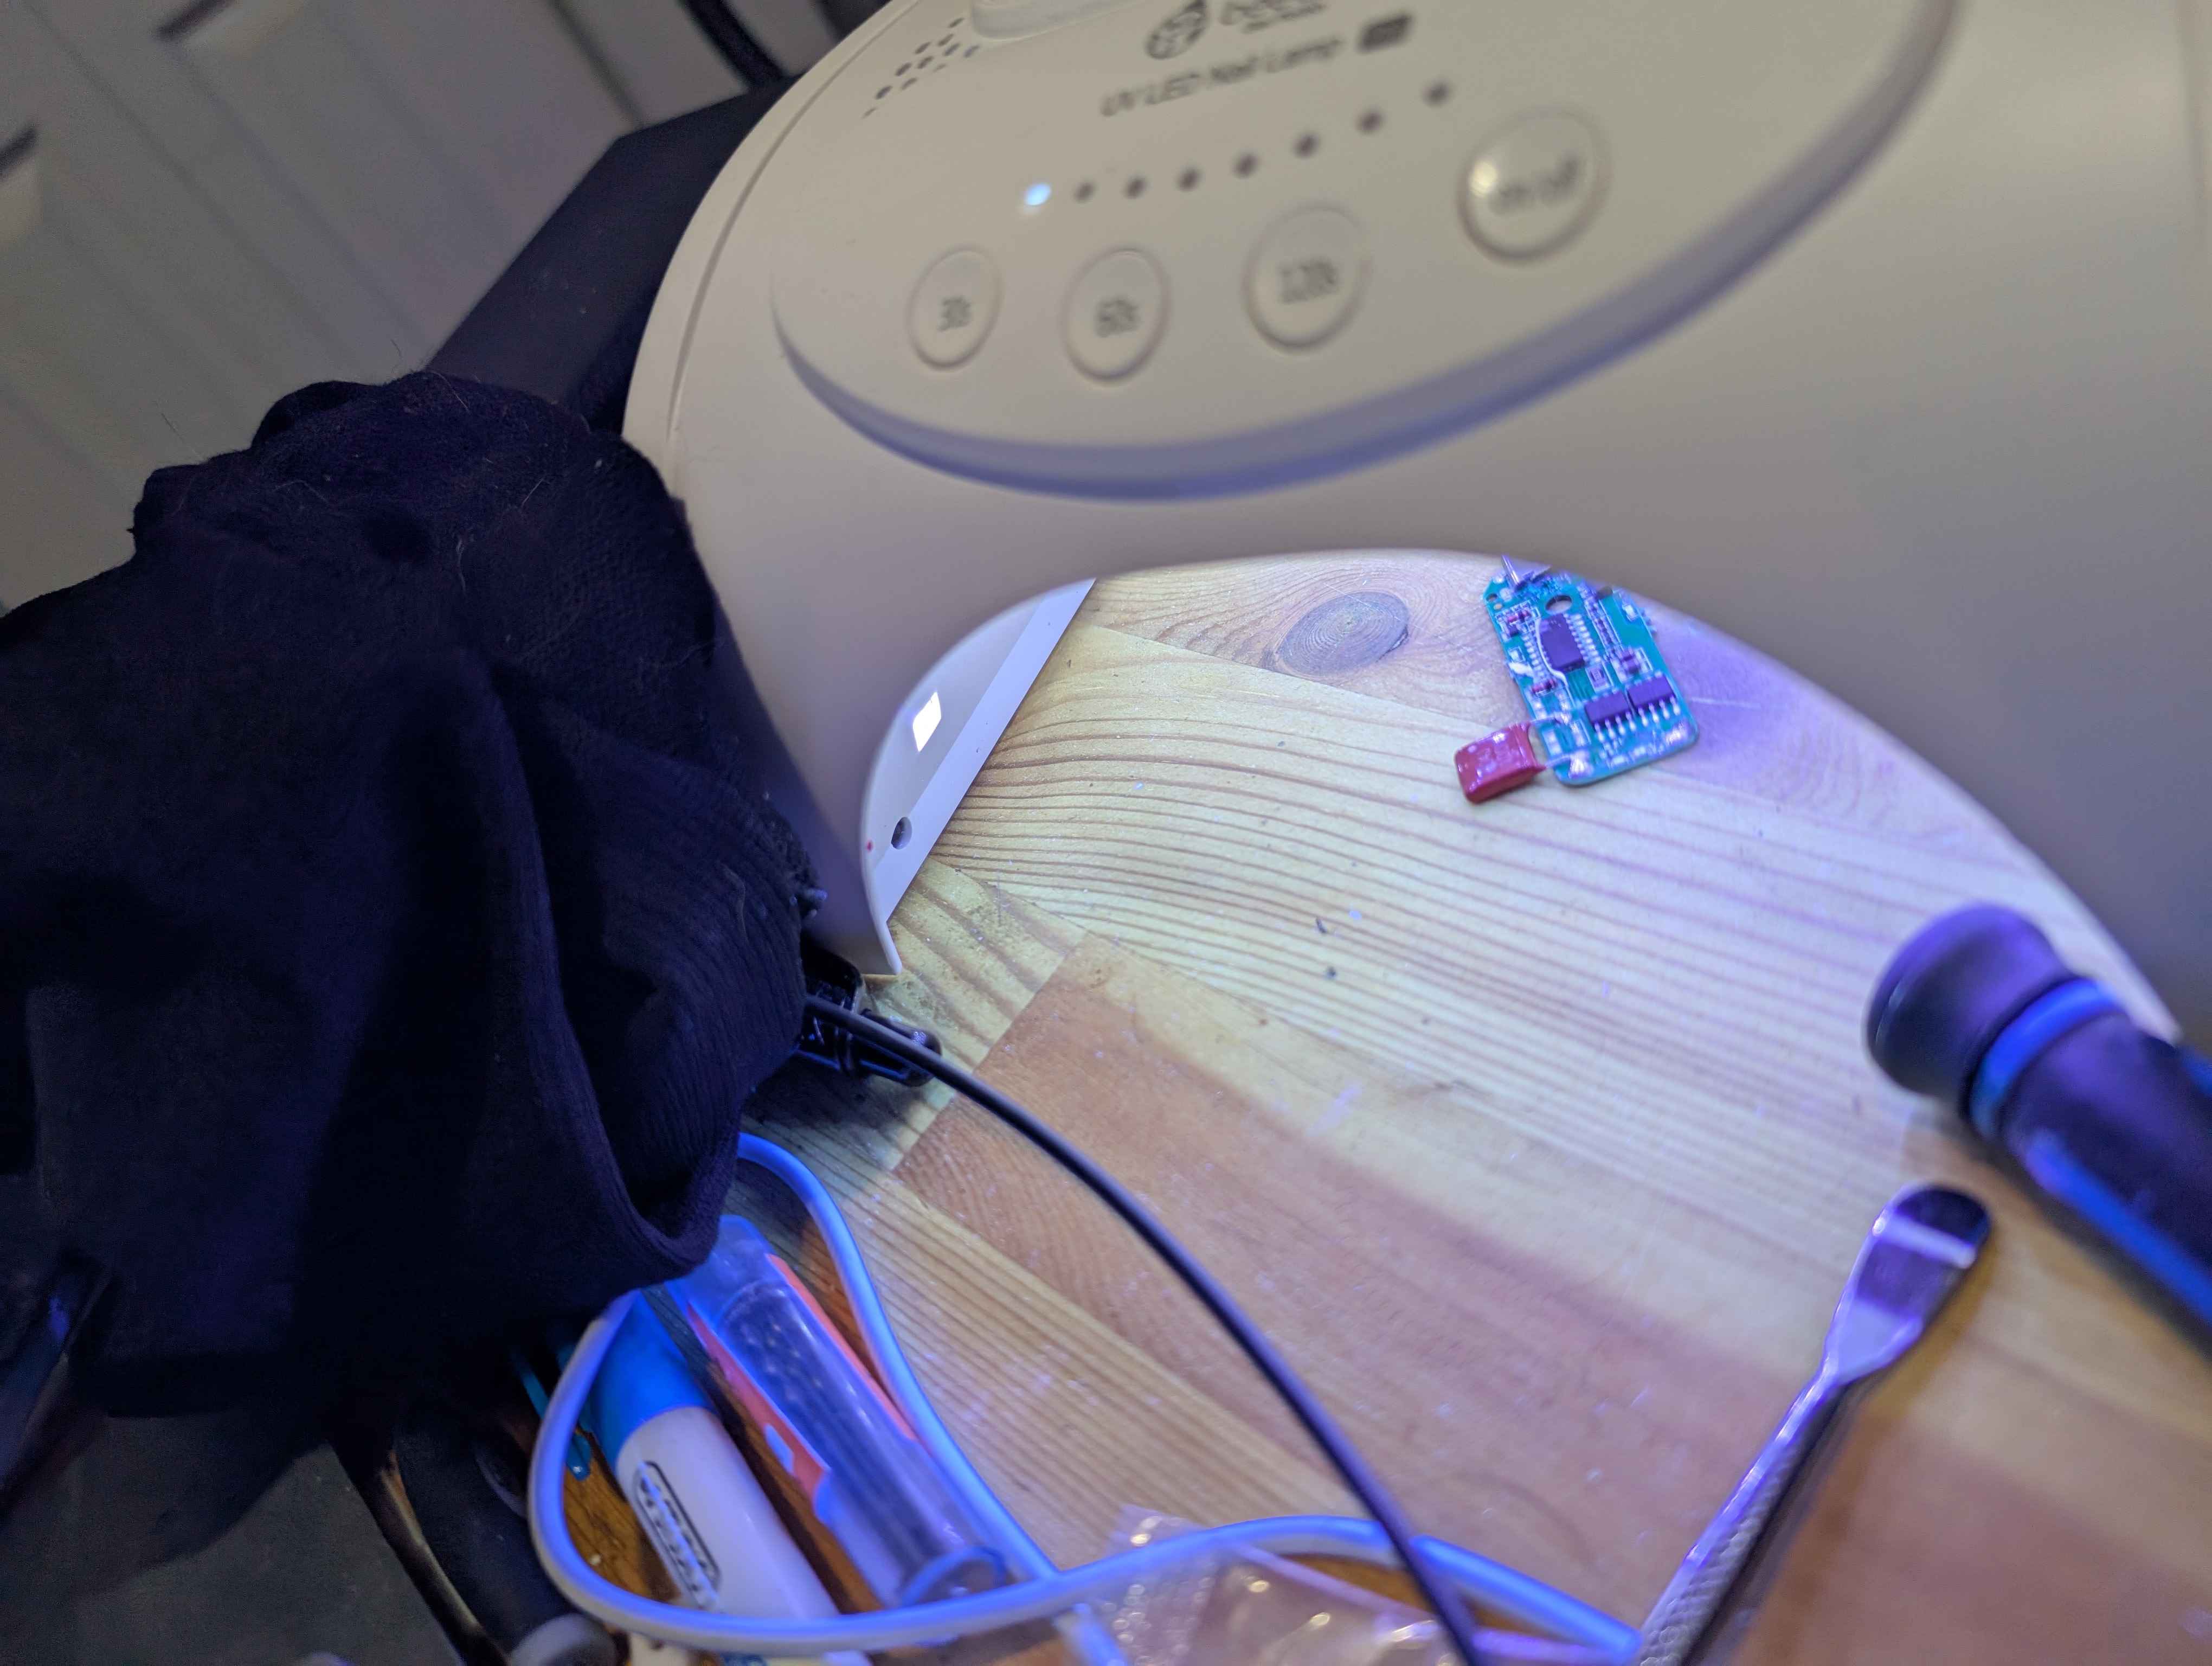
Since I didn’t had a UV flashlight to cure my resin, I had to opt for ‘alternative solutions’… Behold: The nail polish curing machine!
In the end, I tried the fix but, sadly, there was still no juice going to the circuit. It still served as a GREAT experience even if it didn’t worked out in the end. For that, I’m happy to have tried! I’ve also learn a lot from that experience. First, I need a microscope for this kind of work. Second, I need to get the right tools for the job (my soldering iron tip is a bit too big for that situation) and Third, I need to sharpen my patience as these kind of repair are allergic to stress and being rushed.
Hope you enjoyed!